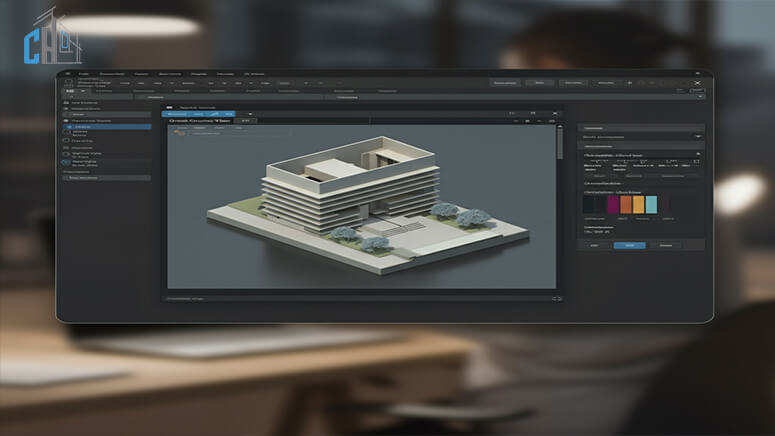
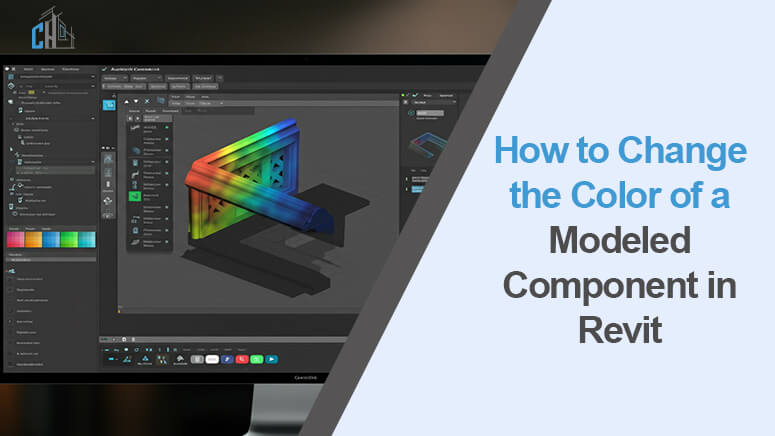
Quick Summary: Customization is at the core of efficient architectural design, and Autodesk’s Revit is a game-changer in this regard. Favored by architects, engineering experts, and constructors, Revit is especially useful for simplifying project-related tasks and optimizing 3D models. But while it’s powerful, using it to its fullest extent requires knowing how to tweak the design.
Among all the available customizations in Revit, the one that can be of great interest is the ability to change the color of the model components. Whenever one wants to peg certain items out on the page for coordination purposes or in instances where one wants to produce material for clients, the color option is one key tool.
This blog post will help you understand the process of changing the color of a modeled component in Revit. No matter what level of riding you’re at or what discipline you’re interested in, we’ve got you covered.
If you’re a Revit user, architect, or part of an architectural revit bim company in the USA searching for Revit modeling tips, you’re in the right place.
Why Customization Matters in Revit
It is not only a tool for 3D Revit modeling solutions, but it also combines modeling, visualization, and much more. But one of its greatest advantages is definitely the fact that it is incredibly flexible. Such customization – such as altering the color of a modeled component – saves architects time by reducing encapsulation and enhancing management, interaction, and transfer of information between projects.
For architectural projects where several worksets are created or when components must be presented in detail, it is useful to change components’ color for simplicity’s sake. For one, it makes a point of rehearsing and instilling into the minds of all those who are involved in the project the intention and specifics of the design, whether it is to set the contractor right or to woo a potential client with the nicely arranged models.
With that said, let’s get into the nuts and bolts of color customization in Revit.
Step-by-Step Guide to Change the Color of a Modeled Component
If you’re exploring Revit for the first time or looking for a refresher on the basics of color customization, follow these steps to get started.

1. Select the Component
Start with launching a project in Revit. To change the color of a specific component, go to this element on the screen. Use the mouse to tap on the component of your choice.
2. Access the ‘Override Graphics in View’ Option
Right-click inside the particular selected component and search for the option saying “Override Graphics in View”. From here, you can choose to override a particular element in detail by the category of elements or by linked model. For simple colour modifications, keep it with “By Element” in the meantime.
3. Adjust the Surface and Cut Patterns
Revit splits surface patterns (the visible outer layer of a part) and cut patterns (the way it looks when cut).
Select Surface Patterns and Cut Patterns in the opened dialogue box.
Choose your desired color & pattern options, then click OK to accept.
4. Experiment with Visual Styles
In order to check what exactly has been done, always preview your model using the correct visual style, such as shaded or realistic. It is convenient to do so in order to fine-tune your choices. Adjusting the visual styles can also help here.
5. Save Your Settings
When ready, unsaved your Revit project by clicking the file, then save. And that’s it—after completing these steps, your model has customized components, and their colors are coded.
Advanced Techniques for Customising Component Colors
For Revit users ready to move beyond basics, there are advanced methods and tools available to create even more impactful, customized designs.
1. Using Filters for Colour Coding
The filters feature in Revit can be used to paint components according to choices such as family, parameters, or phases. To use filters:
- Navigate to “View” -> “Visibility/Graphics” (Shortcut VG) -> “Filters”.
- Add a new filter and define the parameters.
- Select the color and style that the filter will apply to components in the view.
Choose which color and style the filter should apply to the components in the view.
This is particularly helpful when working with phases of large models where one would wish different worksites or disciplines to be easily recognized.
2. Material Assignments
Another option is assigning materials to components. Materials don’t just define the look—they manage data for rendering and schedules, too.
- Open the component’s “Edit Type” properties.
- Locate the “Material” parameter. Assign a material that reflects your desired color and texture.
3. Revit API for Automation
The Revit API for script enables advanced customization and allows the tech-savvy user to automate the component color changes according to rather refined filters. It is most useful for use in large organizations or large-scale projects that need very detailed tracking and management.
4. Override Linked Model Colours
Use linked models and want to change some of their view status? Second, if you want to apply overrides to whole models or categories of elements, you must use the Manage Links tool, which can be accessed on the Visibility/Graphics menu.
Best Practices for Color Customization Efficiency
Here are a few tips to ensure your customization workflow remains efficient and impactful:
Choose Colour Palettes Wisely: Make the mod clear it has too many colors unless the organization of colors is very logical in the system.
Document Your Standards: Teams, including those with more people, have their documentation on the component customization workflow to ensure team members are aligned.
Leverage Revit Templates: Pre-establish Revit filters if you have frequently used templates or material choices according to the type of projects you encounter daily.
Regularly Review Overrides: They should be used sparingly because it takes time and leads to a confusing appearance of the model. To manage your model effectively, regularly go through the overrides to assess whether they are relevant all the time.
Conclusion
Customizing colors in Revit doesn’t just make your designs look great—it makes your work more efficient, professional, and impactful. In every project that contains many components, it is efficient that one can easily differentiate the parts or create impressive graphics, which adds more value to the projects and proves that the employee is professional.
Still curious about Revit customization? Want to know more sophisticated tricks such as how to Revit change worksite color or linked model colors? If you would like to add some comments below, our team would love to assist you.
If you’re looking for professional BIM modeling services or want to streamline your projects, reach out to us to learn more.


